For reference books and articles relating to these pages, see our bibliography
Are you getting tired of looking at a madman's toys? Take a trip on the Grand Imperial Railway, or visit The Heraldry Guy!
Searching for a particular topic in these pages? Try our subject index (updated frequently)
Go to the Next Plate Go to the Previous Plate Go to the Numerical Plate Directory

Plate 130:  Adding a souvenir mug to the collection, Part 16: preparations for laminating thin boxboard
(This plate added OCT 2004)

The two pieces of thin boxboard shown in Plate 129 will now be trimmed and laminated. Guiding our work by the design shown in Plate 128, we will first trim and laminate two 7-inch by 10-inch pieces of boxboard. The resulting single laminated seven-by-ten board will become the bottom of the presentation box.

--more--
SUBJECT: Preparation for laminating boxboard

CAMERA:

  Sony DSC-P92 Cyber-shot
MEDIA:
  Sony MSA-64A Memory Stick at 1.2 megapixel resolution
FILE:
  JPEG from Sony Image Transfer version 1.00.1015.01
EDITING:
  Adobe Photoshop
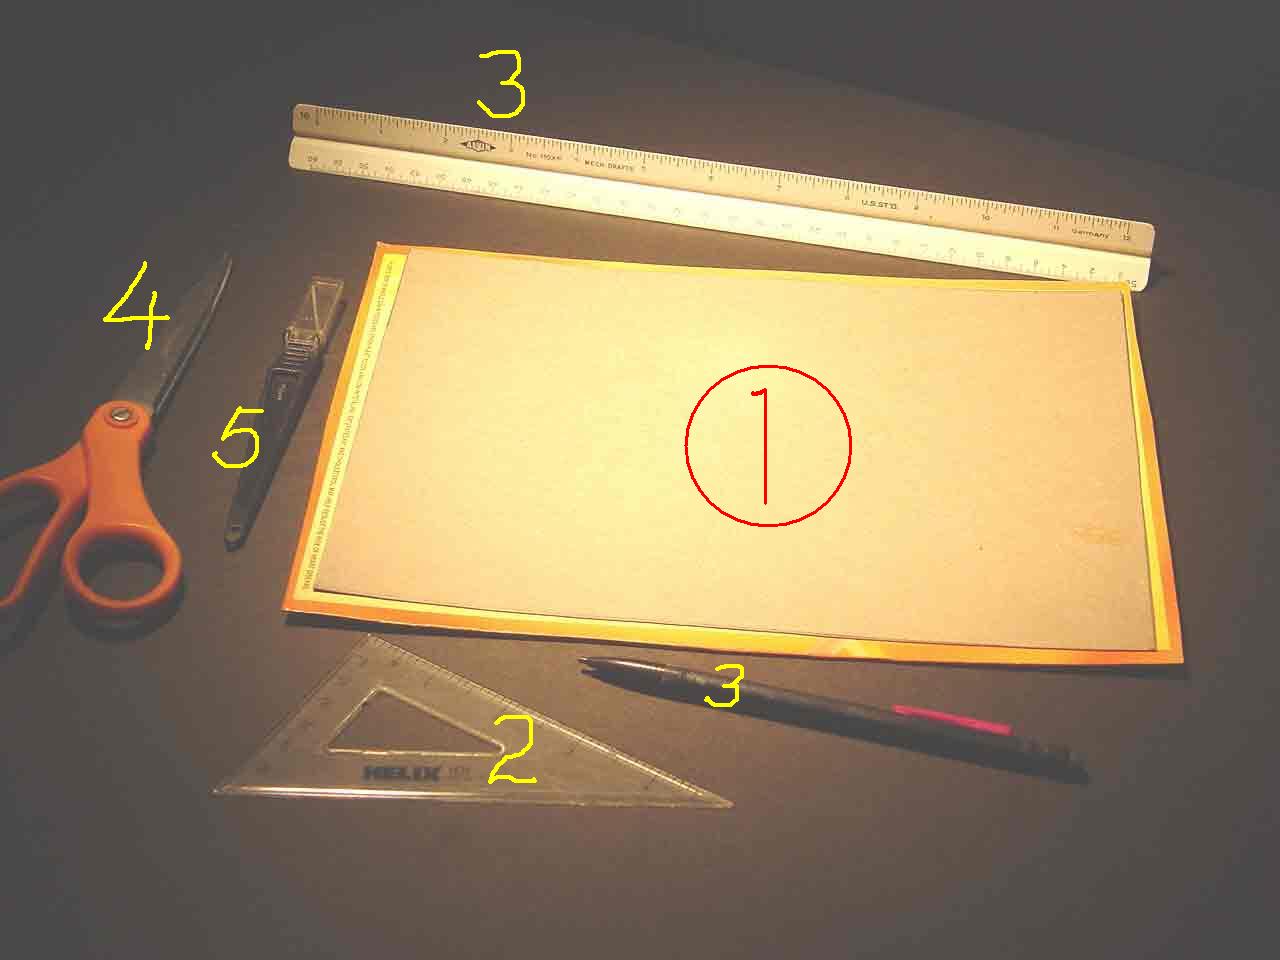
Our trimming and lamination procedure began by trimming one of the two pieces of boxboard into a 7-inch by 10-inch rectangle (exhibit 1). We accomplished this by first drafting a 7-by-10 inch rectangle, in pencil, on the kraft side of one of the pieces of boxboard. Drafting the rectangle required the use of a ruler, a right angle and a sharp pencil (exhibits 2 and 3).

After one piece of boxboard is trimmed using a suitable scissors (exhibit 4) it must be glued onto the other piece. It is essential that the claycoat side of both pieces are glued to each other, resulting in a single laminated piece with the kraft sides of the two original pieces permanently exposed, and the claycoat sides permanently concealed.

The fastest method of laminating thin boxboard is to apply paper glue to the claycoat side of the trimmed piece, and then pressing the trimmed piece, claycoat side down, firmly onto the claycoat side of the untrimmed piece. After the glue sets, the exposed claycoat border of the untrimmed piece should be carefully trimmed away using a sharp modeler's knife (exhibit 5).

Go to top of page