Plate 144: Adding a souvenir mug to the collection, Part 30: constructing the shallow recess for the handle
(This plate added NOV 2004)
In Plate 143, the mug was photographed with the entire half-inch thickness of the handle lying flush within a cut-out area. The cut-out area for the handle must now be provided with a firm floor which will support the handle in its presentation position.
--more--
|
 |
 |
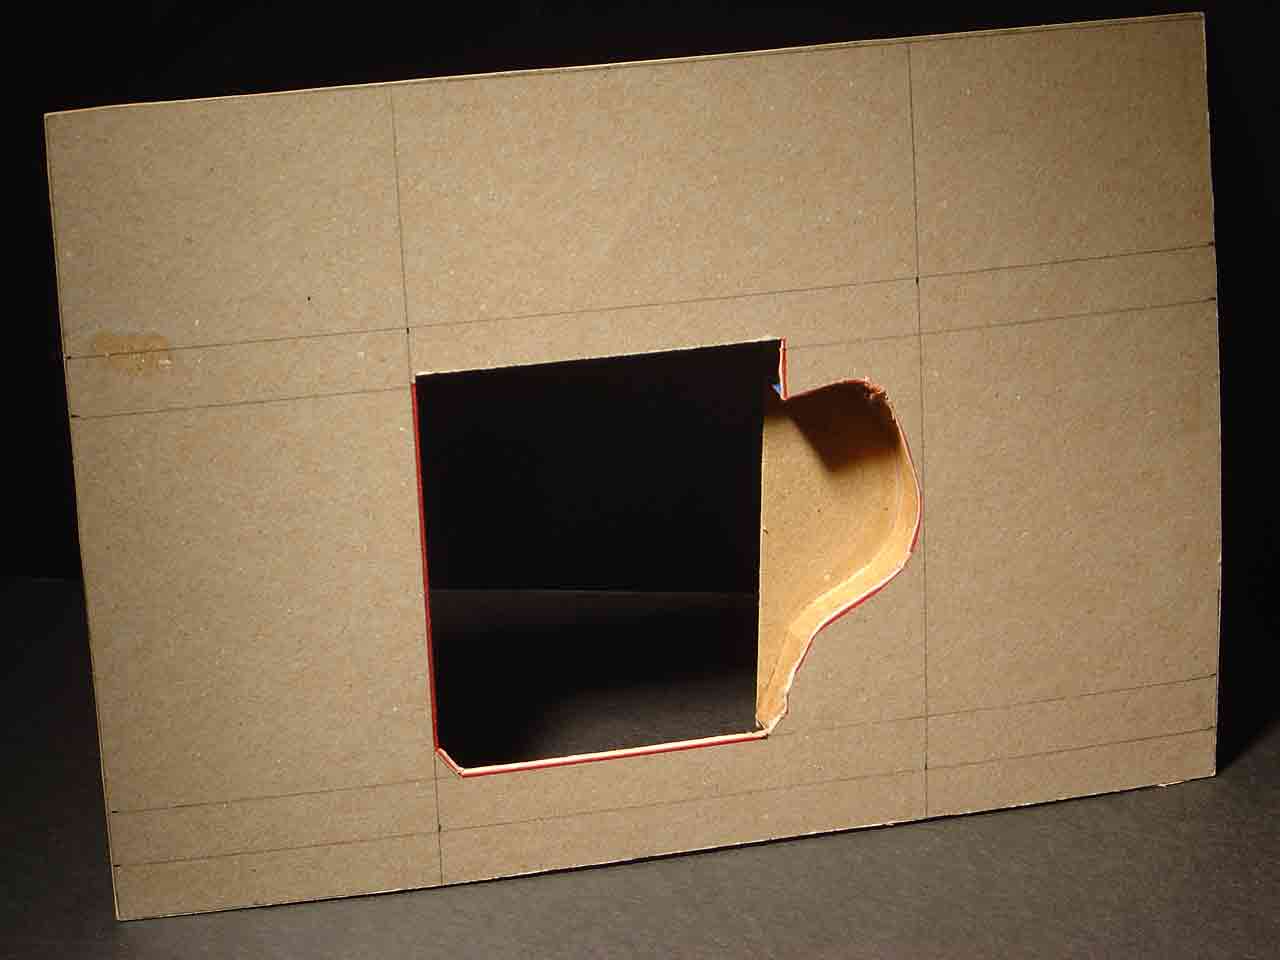
| Floor of the handle's recess, seen from the front |
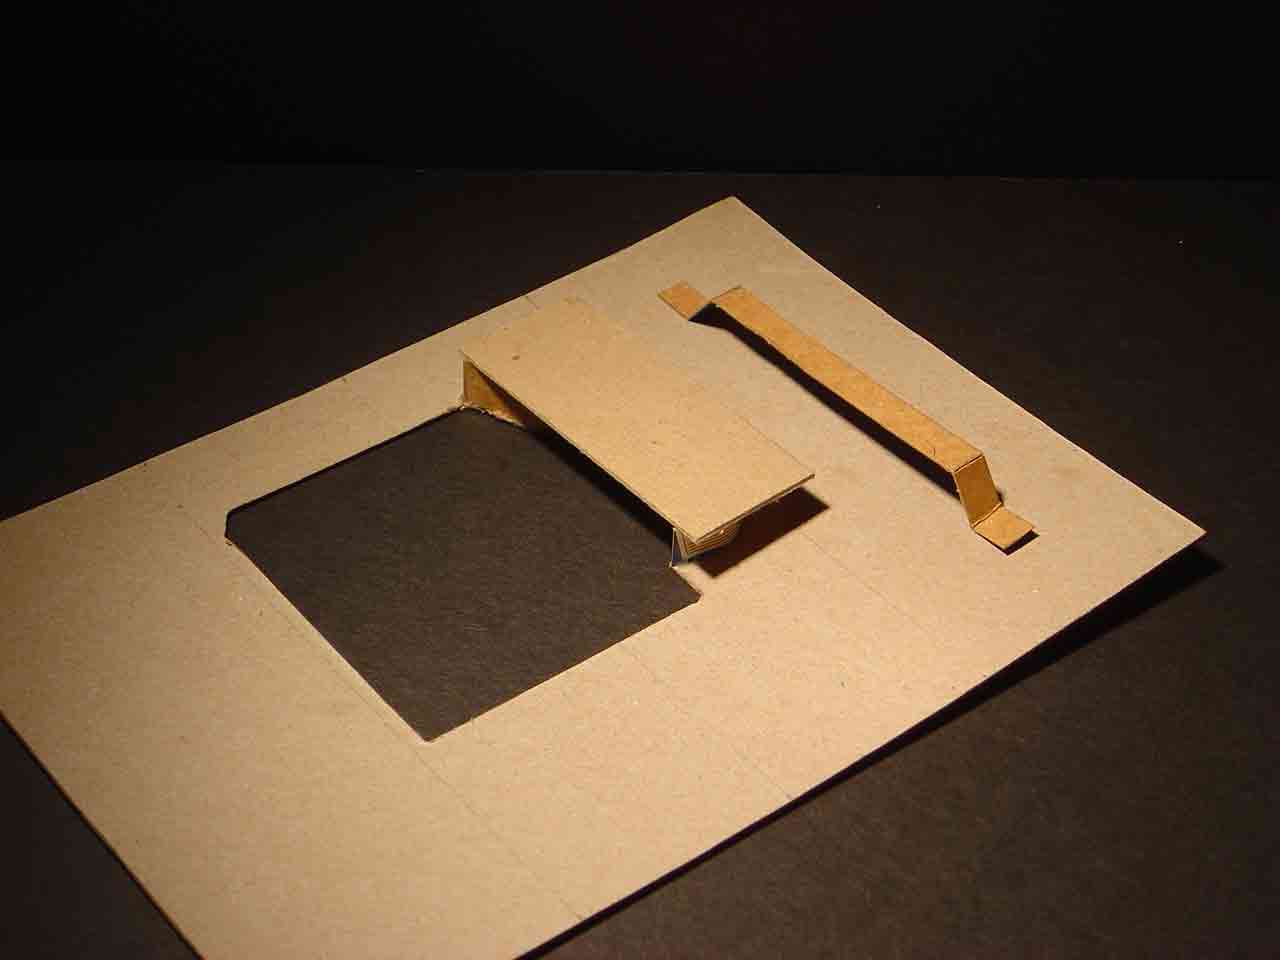
Floor of the handle's recess, seen from the back, with reinforcing strap |
The left-hand photo (above) shows that the half-inch recess for the handle has been fitted with a floor. The floor was made from a rectangle of heavy boxboard and glued along the edge of the half-inch ogee curve.
The right-hand photo shows the rectangular floor from the back (which will be the underside when the presentation box is completed). Also shown in the photo is a boxboard strap, scored and folded to a suitable shape, which will be glued to the rectangular floor, thus ensuring that the floor will not pull apart at the glued joint with the ogee curve when subjected to the weight of the mug's handle.
Go to top of page
|

