--more--
Go to top of page
| For reference books and articles relating to these pages, see our bibliography | ||
| Are you getting tired of looking at trains? Try the Mad Toy Collector's exhibition, or visit The Heraldry Guy! | ||
| Searching for a particular topic in these pages? Try our subject index (updated continually) | ||
| It's all being made into a serialized movie! Click here to watch the movie episodes! | ||
| Go to the Next Plate | Go to the Previous Plate | Go to the Numerical Plate Directory |
Plate 195: Installing a surface-mounted point motor with an extension arm, Part 10
(This plate added NOV 2003)
|
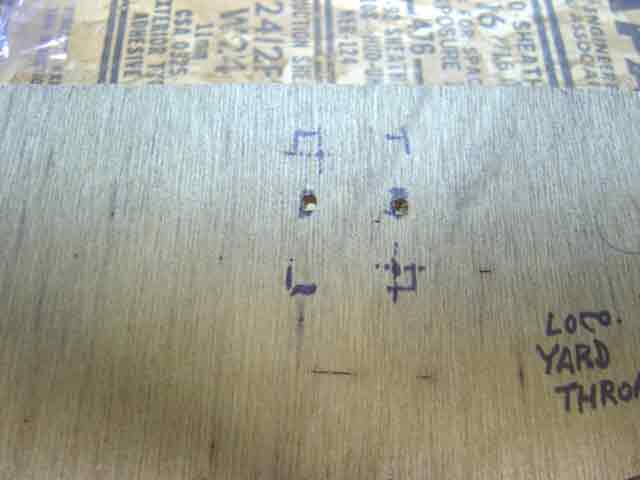
Here we have made two small holes in the roadbed. Each hole must go all the way through the roadbed, and each should
be in the center of each wiring-slot mark. It is important that each hole be wide enough to admit
all three wires of an R8014 Mark 2 point motor (red, green, and black).
We will need only one of these holes to run the three wires, but the choice of which hole to use comes later.
--more-- |
|
|
We have also made some additional dotted-line markings at two of the corners. These are not essential - they simply show where
the baseplate mounting screws will go. These corner marks are useful in case we decide to make starter holes for the mounting screws.
It is not always necessary to make starter holes. If the roadbed is made of a tough material,
starter holes are a good idea. If the roadbed material is soft, the mounting screws will go in easily without starter holes.
Go to top of page |
|