HE photo on the left shows two exposed non-black strips in the newly constructed setting. A long white strip at the front of the sixteen-inch-deep baseboard resulted from a careless error in cutting the board (the cutting blade slipped). At the back of the baseboard, it appears that the back wall and the floor have parted slightly, thereby exposing the light brown cardboard of the foundation.
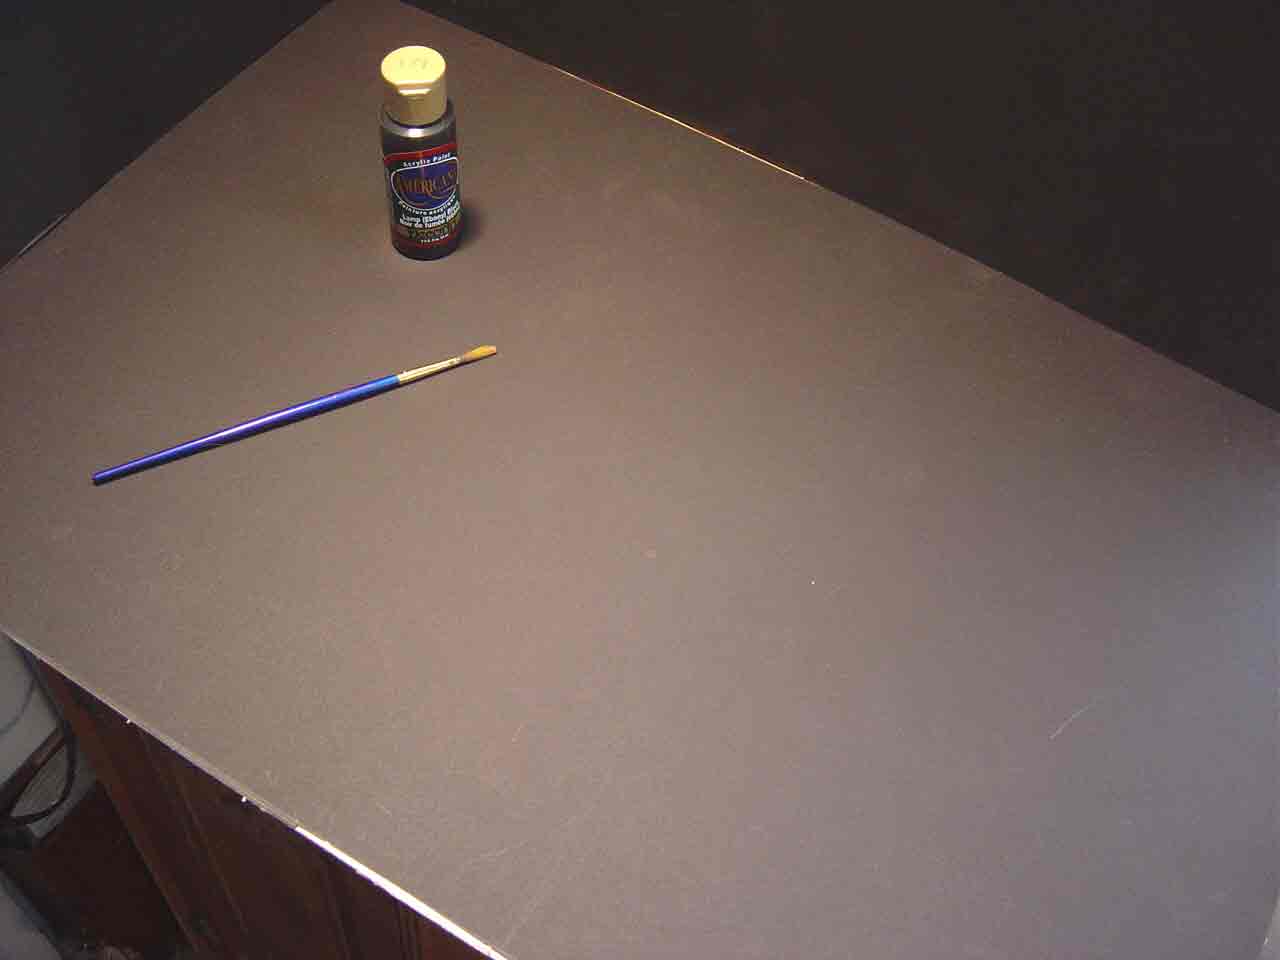
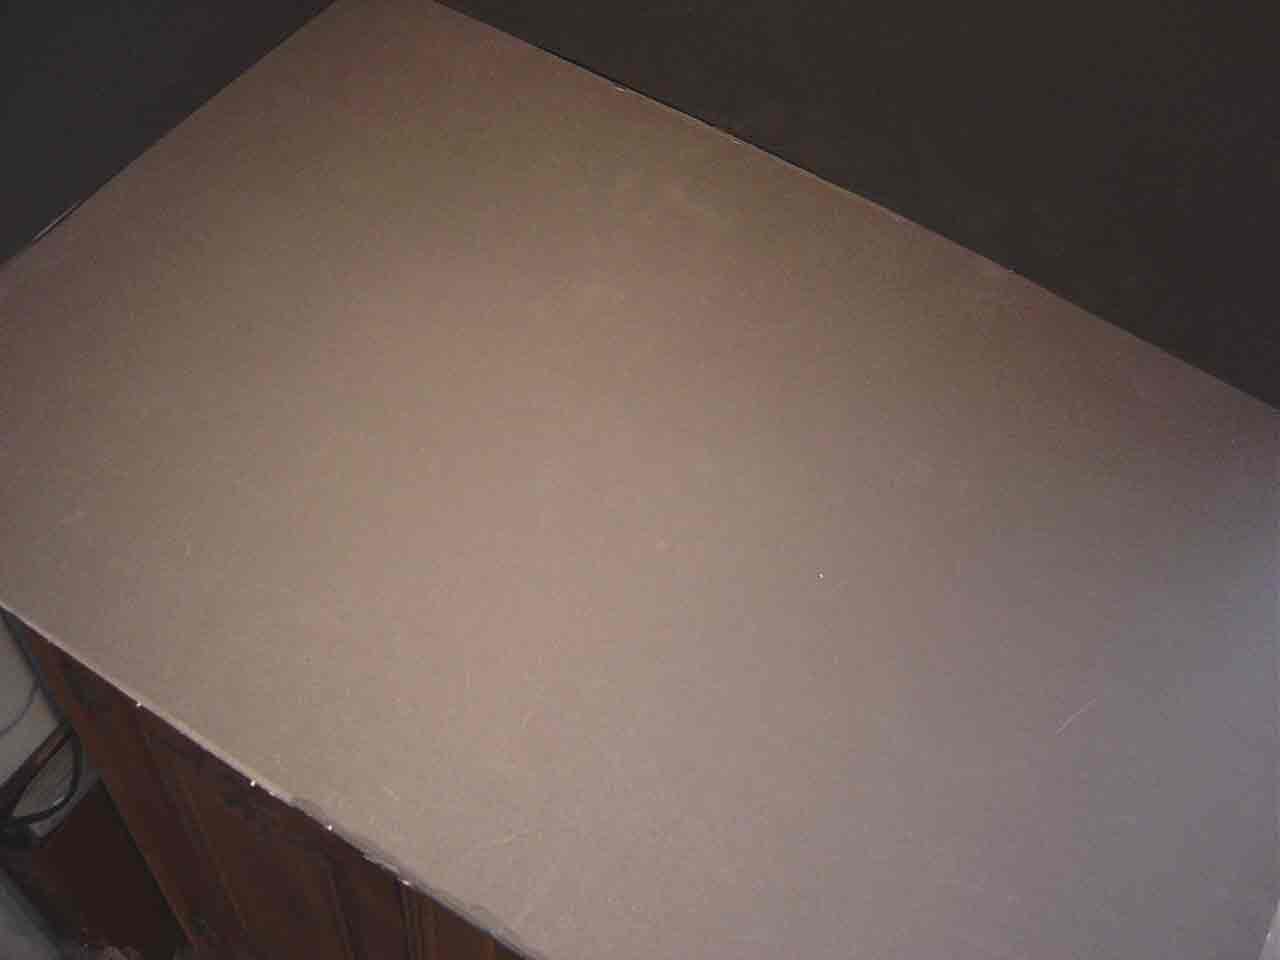
The black liquid acrylic paint, first seen in Plate 4, and appearing again in the left-hand photo, was expressly obtained in order to retouch accidental non-black exposures such as these. The photo on the right shows how the retouching paint covered the exposed areas in a single brush-on application.