--more--
1. A rectangle of adhesive contact paper big enough to cover the entire outer bottom of the box, all four outer sides, and an overlapping strip on all of the inner sides, was cut and applied to the box.
2. Similarly, a rectangle of adhesive contact paper was cut and applied to the box-cover
This resulted in the entire outer bottom of the box, and the entire outer top of the cover, being papered. Our new method of papering will differ as follows:
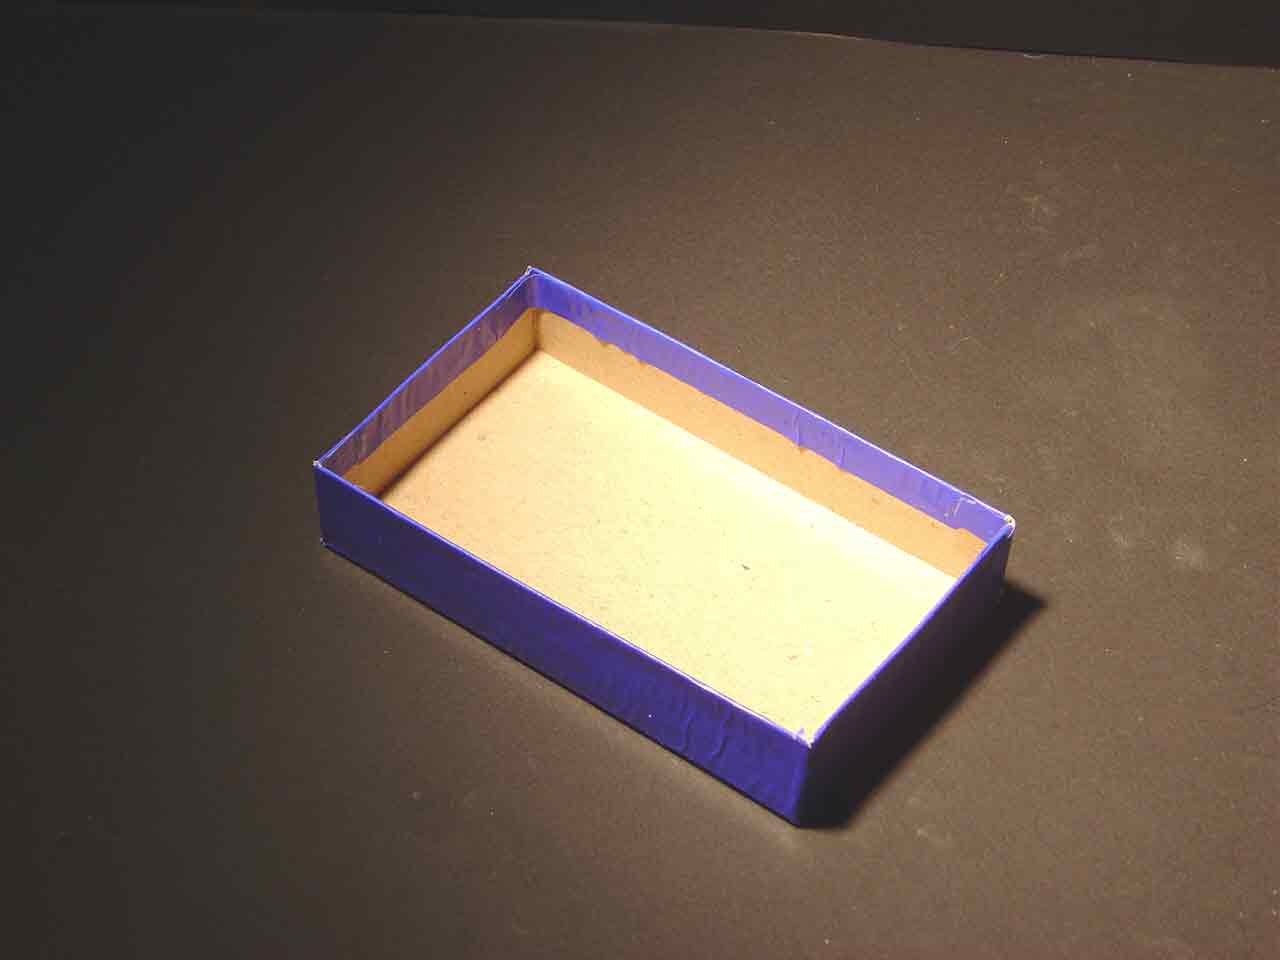
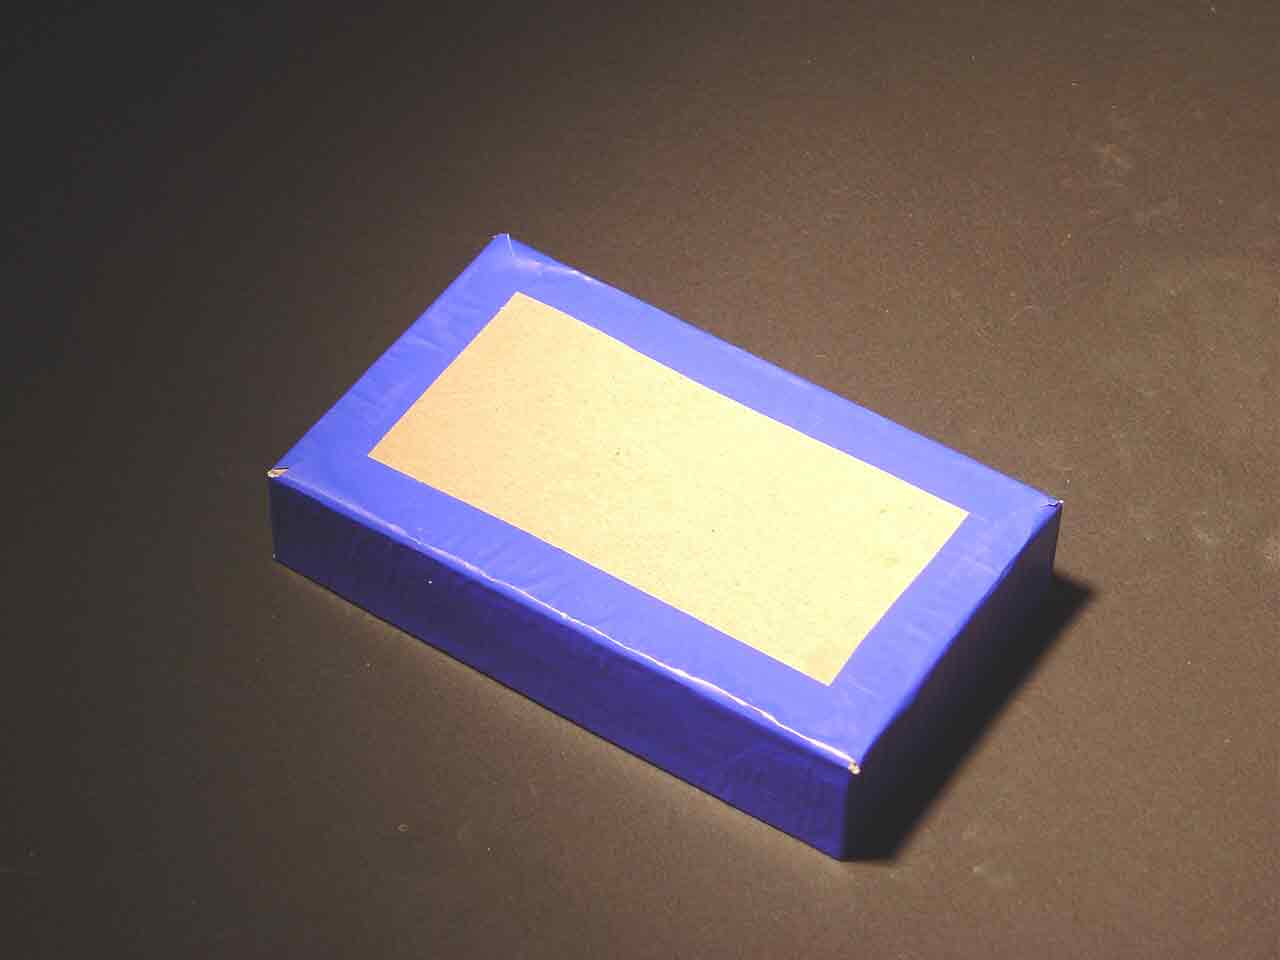
NEW METHOD (Shown in the two photos above)
1. A strip of non-adhesive gift-wrap paper big enough to cover only a narrow perimeter of the outer bottom (not the entire bottom), all four outer sides, and an overlapping strip on all of the inner sides, was cut and glued to the box (see two photos above).
2. Similarly, a rectangle of non-adhesive gift-wrap paper will be cut and glued to the box-cover (the box-cover is not shown in this plate).
The main difference between the old method and the new method is that the top outer surface of the cover and the bottom outer surface of the box will no longer be entirely papered. This new method is similar to the papering method that was used commercially for boxes containing mass-produced toys.
For example, the box containing the farm set shown in Plate 80 was not entirely papered on the bottom, nor was the cover entirely papered on the top. The reasoning behind this, we imagine, is that a retail customer would not be interested in seeing the bottom of the box, and that the top surface of the box cover was almost entirely covered by a label, so that full papering was not necessary.
Many generations of toy-collectors became accustomed to the papering method exemplified by the box in Plate 80. The Collector has thus decided to follow this papering tradition when papering all boxes for his collection.
In view of the new papering method, the answer to the question:
"How much paper is required to cover our box and box-cover?"
is:
"64 square inches, or 2.20 percent of the entire roll of gift-wrap paper."
By contrast, the old method would have required 96 square inches, or 3.30 percent of the roll of gift-wrap paper. Greater economies would arise when papering bigger boxes. The main directive is:
"Do not paper the entire outer bottom surface of a box, nor the entire outer upper surface of a box-cover."
Go to top of page